Title

Description
    Contact Icon

    In-process measurement

    Reliability for automated manufacturing

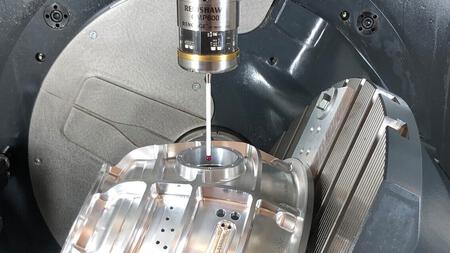
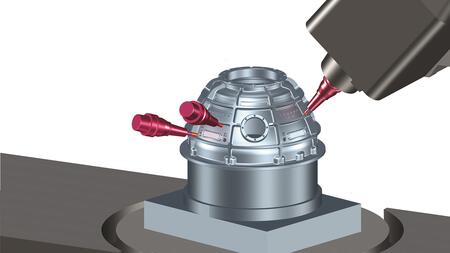
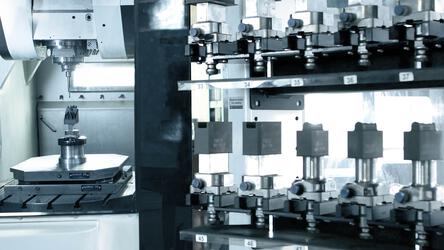
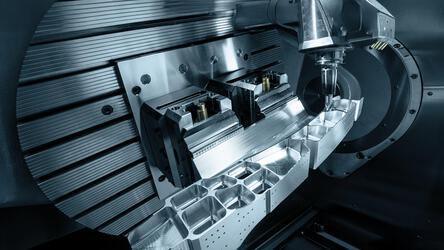
    You want to make the best use of your investments in highly automated machine centers. Optimal utilization therefore requires unattended operation during late shifts and night shifts. "In-process measurement" gives you the necessary process reliability by checking part orientation and blank dimensions. You can integrate quality controls in the machining process independent of measuring cycles in the control for production with no reworking. This results in complete NC programs with toolpaths for turning, milling and drilling – including measurement cycles – with which your machining centers can run unattended for as long as necessary. Because all movements of the measuring probes, tools and machines can be realistically simulated and checked for collisions.
    video thumbnail
    View video / contact form
    Please select the Preference cookies to activate the display.
    Activate cookies
    Reliable
    Safeguards the manufacturing processes
    Time savings
    Reduces setup time and reworking
    Integrated
    Complete process-integrated solution in a single system
    High quality
    Improves part quality

    Functions

    Determine reference point and blank dimensions
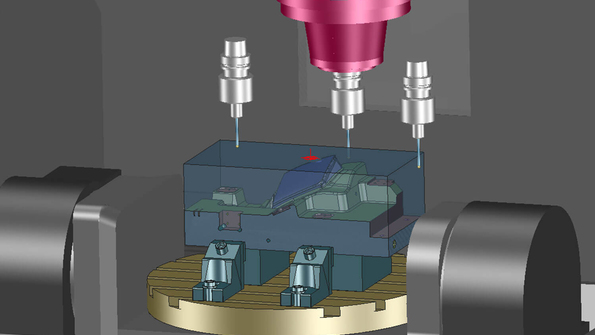
    Integrate the determination of the reference point in your NC program so your machining centers can start working immediately after setup. The Tebis Job Manager lets you control the measuring cycles for the reference point, automatically determine part rotation and correct the reference point. This prevents user errors and results in a reliable, highly automated process that shortens setup time.

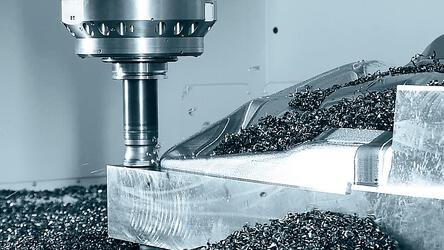
    You can also check the blank dimensions. If the dimensions are outside the tolerance for your machining operation, it can be stopped at an early stage. This allows you to prevent tool breakage, damage to the machine or worse.

    Checking and correcting standard geometries
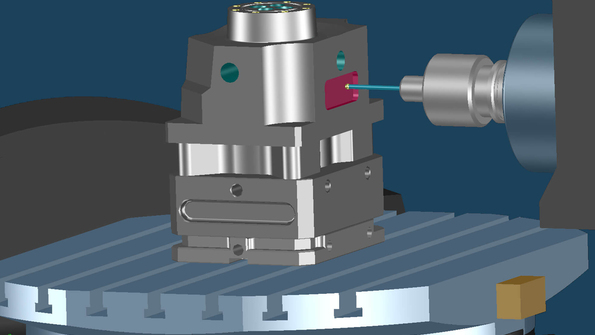
    You can use functions that check whether the manufacturing result is within tolerance for measuring standard geometries like bores, rectangular pockets and cylinders. If the checked elements still have a stock allowance, the machine center can automatically start another machining operation for correction. This lets you integrate quality control in the manufacturing process, increase the degree of automation and reduce quality loops and overall machining time. You can also save a log file on the control.

    Check electrodes completely automatically
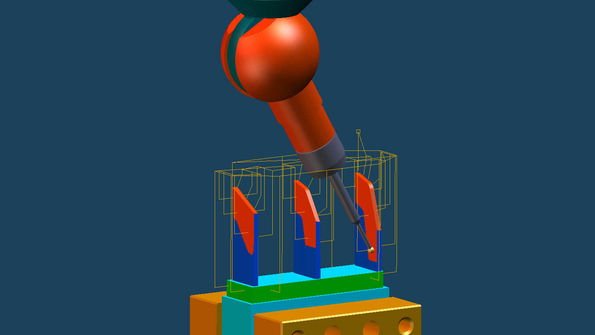
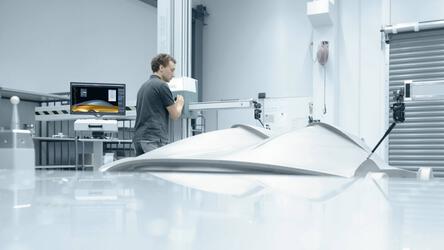
    3d-millingMany individual workpieces with special quality requirements are generated in electrode manufacturing. You therefore want to completely integrate quality control in the process to prevent errors and lost time. You can do this using templates in Tebis to create measuring paths for the specific areas of an electrode that you want to check. The defined arc gap is automatically taken into account. You can even have measuring paths for the setup probe created completely automatically.  All movements of the measuring probe and the machine can be simulated and checked for collisions. Because measuring machines can be directly integrated, the specified/actual comparison of completed electrodes and the CAD geometry works every time. Tebis outputs the measuring result directly as correction values for the EDM machine.

    You might also like

    Tips, webinars ...

    Boost your machine efficiency
    Your machining centers can automatically check if the part is correctly set up and the blank is dimensioned and oriented accurately. They can also ensure that the machining is complete.
    More...
    Increased productivity thanks to integrated quality controls in the machining process

    In this web session you will learn how you can further automate your manufacturing process with measurement functions. You can integrate quality controls in the machining process independent of measuring cycles in the control for production with no reworking.

    View webinar now (English)

    More information

    You might also like

    Sinker EDM

    Tebis puts you in control of the complexities of sinker EDM – from automatic detection to convenient, database-supported design, methodical NC machining, to measurement of the finished electrodes.

    More...
    3D milling

    Free-form machining lets you combine all your strategies for roughing, finishing and residual stock machining in the Tebis Job Manager. You can use convenient template technology and ensure collision avoidance already in the CAM environment.

    More...
    5-axis milling

    Tebis 5-axis milling lets you use the full potential of your expensive high-performance machines: Collision-free programs can be easily planned and calculated for all multi-axis machining operations. Simultaneous 5-axis strategies that are customized for specific manufacturing tasks make NC programming very simple – especially in combination with Tebis template technology. 

    More...
    Quality control

    The end-to-end Tebis solution lets you check any part right after manufacturing. Whether you want to measure your parts using NC control on milling and measuring machines or do it manually – Tebis provides you with all the necessary functions. Manufacture quality. Right from the start.

    More...